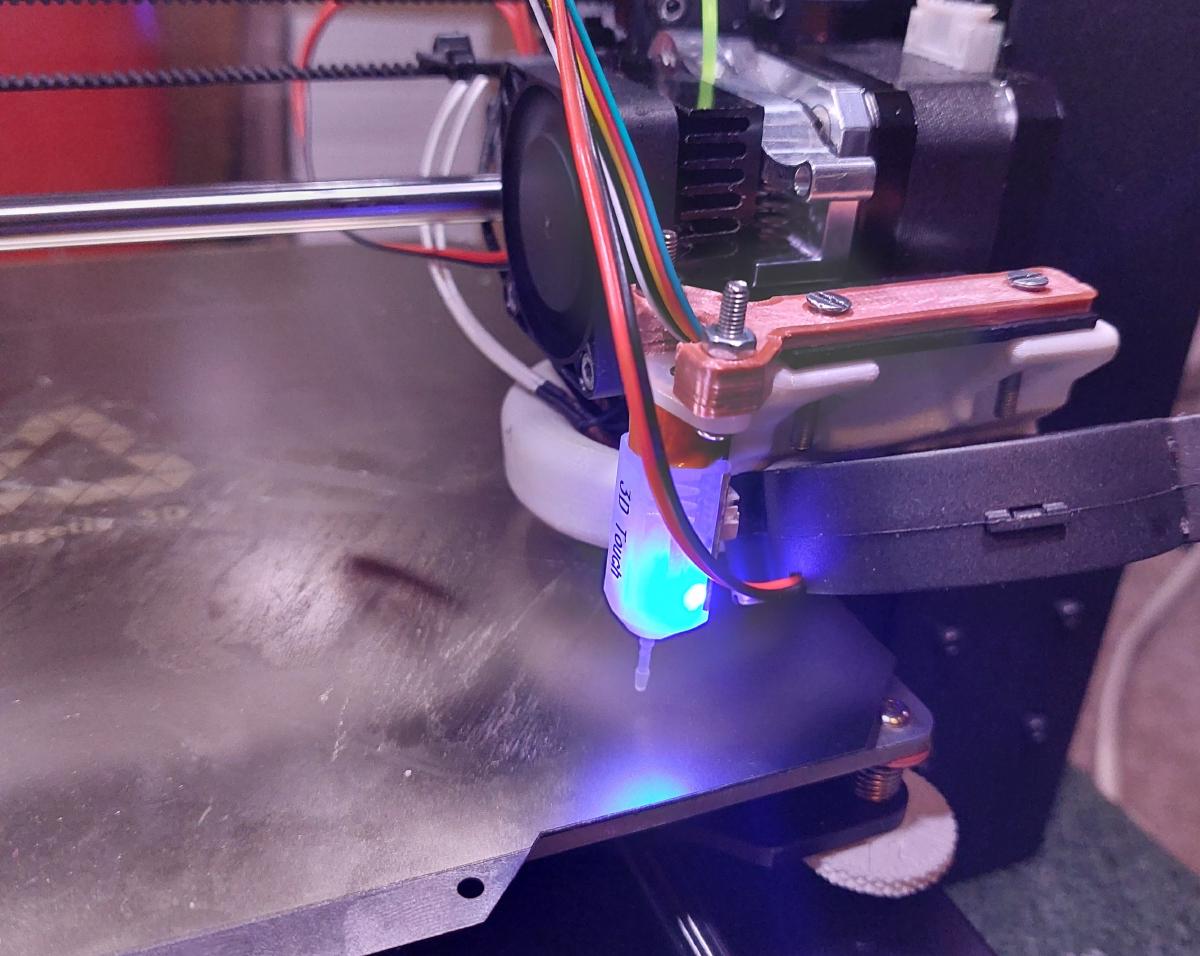
BLTouch For Wanhao Duplicator i3 PLUS #
Recently I have acquired a new BLTouch sensor clone (3D Touch) for my Wanhao Duplicator i3 Plus 3D printer. I used to have it before but one day the pin must have been hit by the model during the print and got bent which obviously reduces its accuracy for levelling the bed.
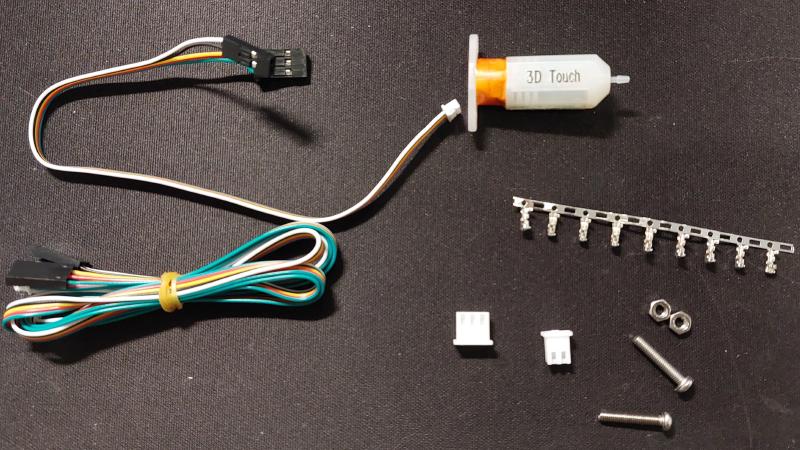
I bought the module on AliExpress, mainly the sensor itself and the replacement plastic pins. It took around 20 days to ship from China to Ireland, which is reasonable for AliExpress orders. The package arrived in a plastic bag which contained a bubble wrap around an ESD bag with the sensor inside a foam cut-out together with the wires and an extension for the wires. There was another ESD bag which contained five replacement pins.
I then 3D printed a mount for the printer to attach the sensor to. File can be downloaded from Printables (Thanks Tobashadow)
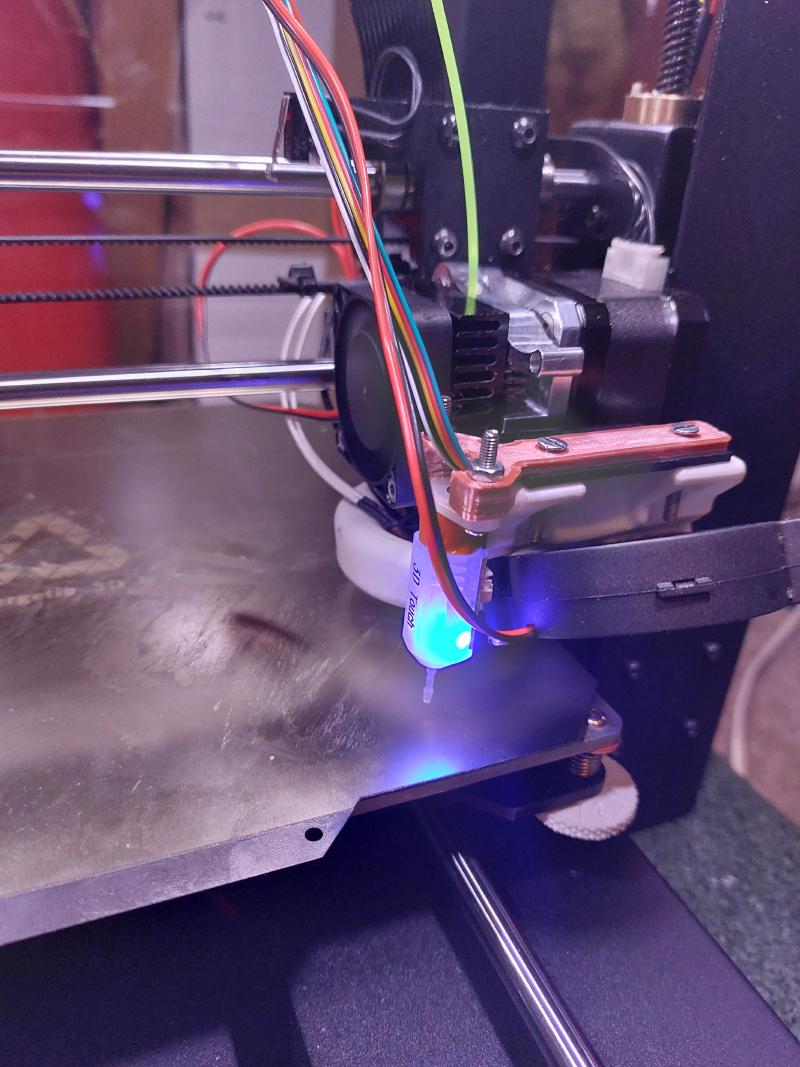
The mount came out very nicely. I then updated the X and Y offsets of the mount in ADVi3++ (the firmware on my Wanhao Duplicator i3 Plus). I used this custom gcode for before and after prints in PrusaSlicer. I got this code from the internet, unfortunately I don’t remember where exactly I have gotten the code.
This gcode levels the bed, heats it up to set temperatures, does a purge line and starts the print. At the end of the print, it turns off the heaters, and fans, and moves the bed to the position where its easy to reach the print. I know that I generalised the whole gcode but there are comments on every line of the gcode instruction.
Start G-code:
G21 ; metric values
G90 ; absolute positioning
M82 ; set extruder to absolute mode
M107 ; start with the fan off
M140 S[first_layer_bed_temperature] ; Set bed temperature (no wait)
G28 X Y F6000 ; move X/Y to min endstops
G28 Z F1200 ; move Z to min endstops ; raise the nozzle
G28 X Y F6000 ; move X/Y to min endstops
M190 S[first_layer_bed_temperature] ; wait for bed temperature to reach target
M104 S[first_layer_temperature] T0 ; set extruder temperature (no wait)
G29 ; auto-leveling
G28 X Y F6000 ; move X/Y to min endstops, may disable bed leveling
M420 S1 ; enable bed leveling compensation
M109 S[first_layer_temperature] T0 ; set extruder temperature and wait
M300 P200 ; beep to indicate that the temp is reached

G0 X0 Y15 F9000; Go to front
G0 Z0.15; Drop to bed
G92 E0; zero the extruded length
G1 X40 E25 F500; Extrude 25mm of filament in a 4cm line
G92 E0; zero the extruded length
G1 E-1 F500; Retract a little
G1 X80 F4000; Quickly wipe away from the filament line
G1 Z0.3; Raise and begin printing.
End G-code:
M104 S0 ; extruder heater off
M140 S0 ; heated bed heater off
M107; Turn fan off
G91 ; relative positioning
G1 E-1 F300 ; retract the filament a bit before lifting the nozzle to release some of the pressure
G1 Z+2.0 F6000 ; move Z up
G1 E-5 F300 ; retract filament even more
G90 ; absolute positioning
G1 X0 F6000 ; move X to min endstops so the head is out of the way
G1 Y160 F6000 ; move the bed so it is easy to access to the printed part
G92 E0 ; zero the extruded length
M84 ; steppers off
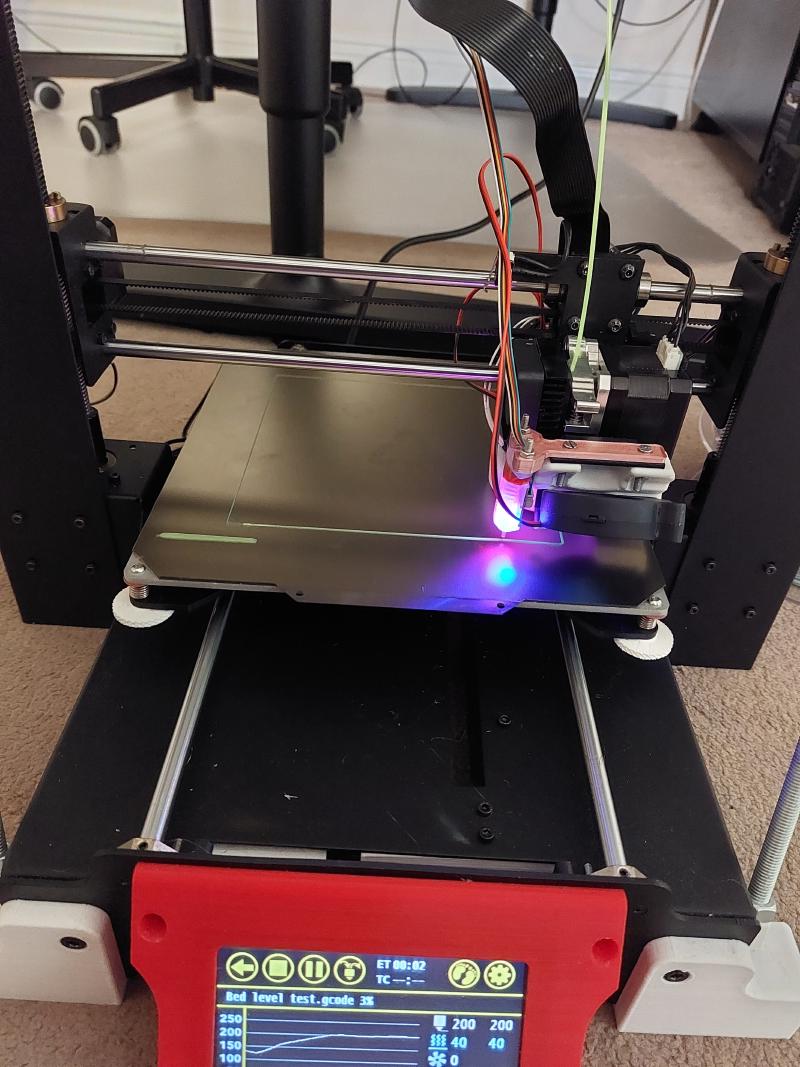
The whole assembly came out very nice together, now I have to worry less about bed manual levelling but I still do it from time to time, just to keep it in good order. Now the prints comes out very nicely out of the PEI bed. I would recommend to get a Bltouch or some alternative your own printer if you want to save the major hassle of leveling the bed often and want to have really good first layers.
Happy Printing!